

How To Get Photobooth On Instagram

Using just a few pieces of wood, some serious DIY know-how and an Arduino, lensman and Instructables user Alexander Morris built this really cool, Instagram-inspired photo booth as a fun extra for events and parties. Fortunately for us, he uploaded a ton of pictures and instructions so that everyone with a picayune scrap of time and skill can put one together for themselves.
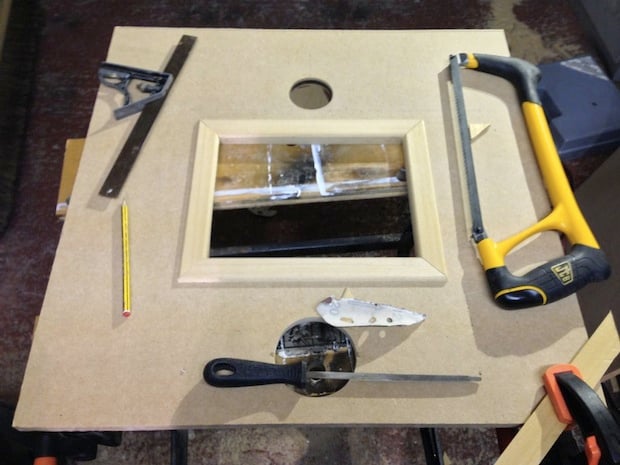
To beginning out, go yourself a 600mm x 600mm sheet of MDF and cut out holes for a red dome push button, lens and Television receiver monitor (you tin also add together a frame to the TV monitor cut out for depth). Once you've done that, round the edges with a jigsaw so it looks similar the Instagram symbol nosotros've come to know and love (or loathe).
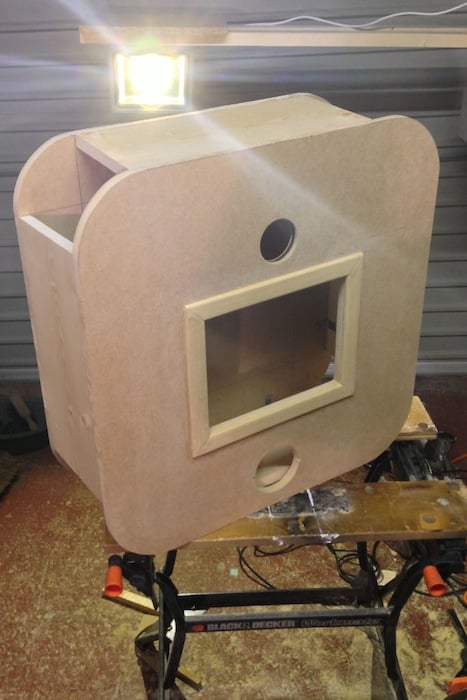
Next, attach the front piece to a similar board with the aforementioned dimensions using screws, 90-degree brackets and wood planks cut but shy of where the corners brainstorm to curve. Once yous've done this, it'southward time to build the corners by gluing together brusk strips of forest into a corner shape, attaching them using screws and 90-degree brackets, and rounding them out with a wood plane and sander.
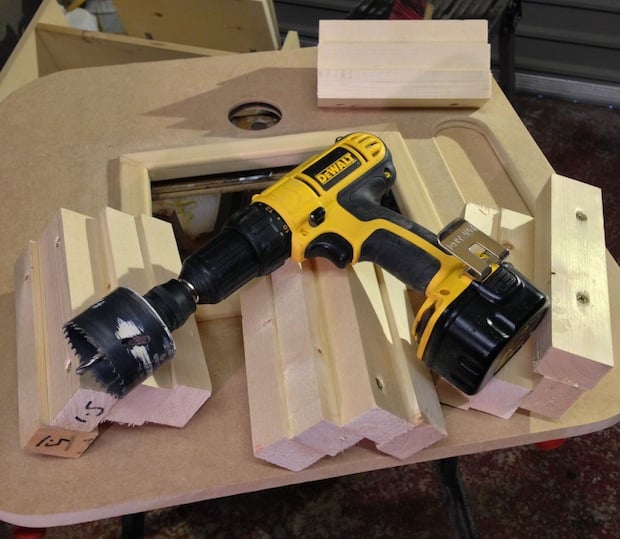
Finally, to complete the housing, yous'll accept to cut 4 more holes. Two to contain iii 45mm seven-segment displays (two displays together at the top and one on the right), and one on each side at the meridian for the flash guns. The flash holes are then covered upwardly with translucent plastic to diffuse the light.
Next come the electronics, and this is where the instructions go a bit vague, so if y'all need more item, be sure to head over to Instructables and check out all of the pictures Morris uploaded.
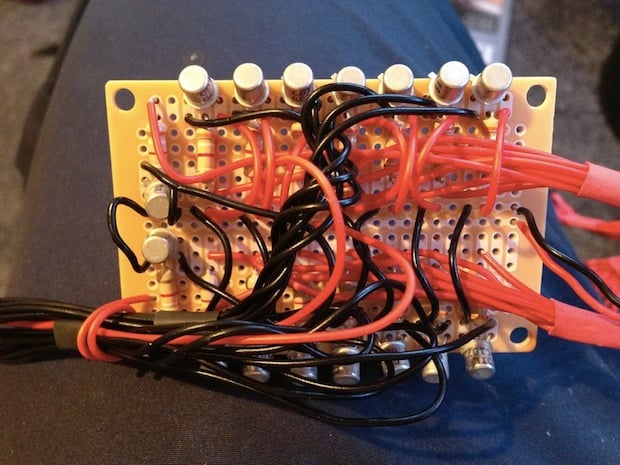
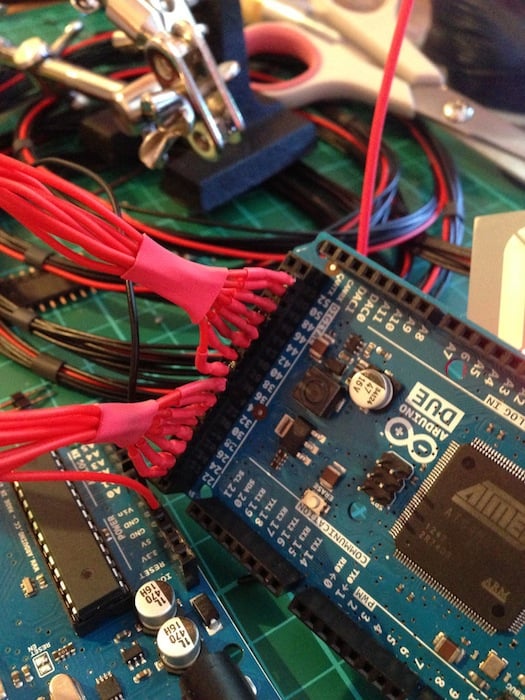
To start, attach wires to each of the seven-segment displays (9 wires per) and comprehend/bind them together with heat shrink. Then take a printed circuit board (PCB) and attach 28 transistors and 29 resistors using cherry and black wire. The concluding production should look like this:
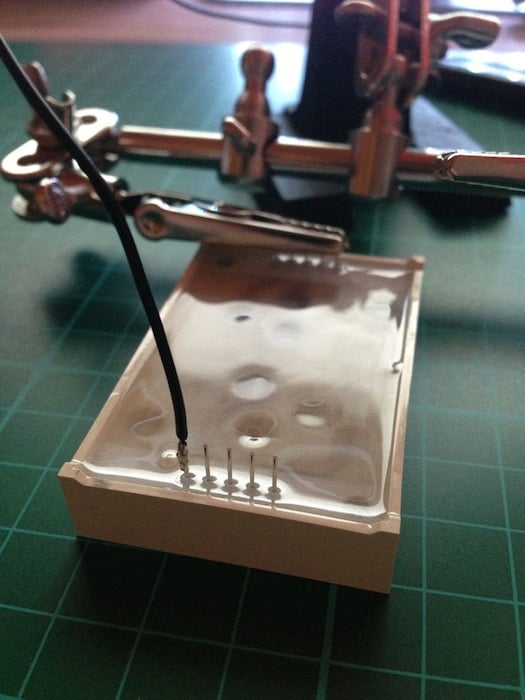
Afterwards you've fix your PCB, attach the header plugs to each of the seven-segment displays and solder the push push button (plus an LED to low-cal it upwardly) in equally well. To control the photographic camera, a 2.5mm jack must be soldered in and fastened to a transistor; when the transmitter is closed, it will connect the ground of the camera wire to both the autofocus and shutter trigger.
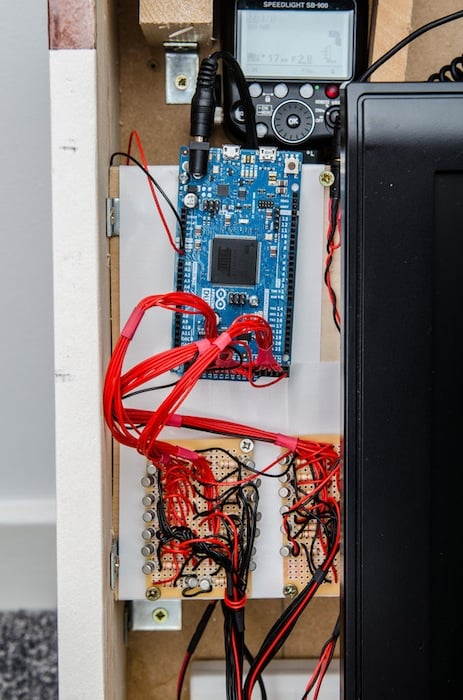
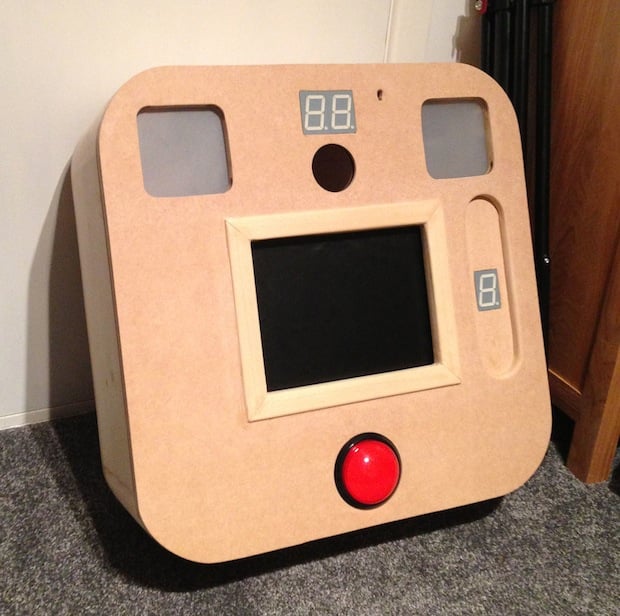
Finally, if you managed to follow all of that, you'll now have to program the photo berth's functionality via an Arduino and then mount everything inside the shell you created. In Morris' case, the Arduino was programmed to take 4 pictures, using the unmarried 7-segment display on the right to show which moving-picture show was existence taken, and the two at the top to count downward from x for each photo.
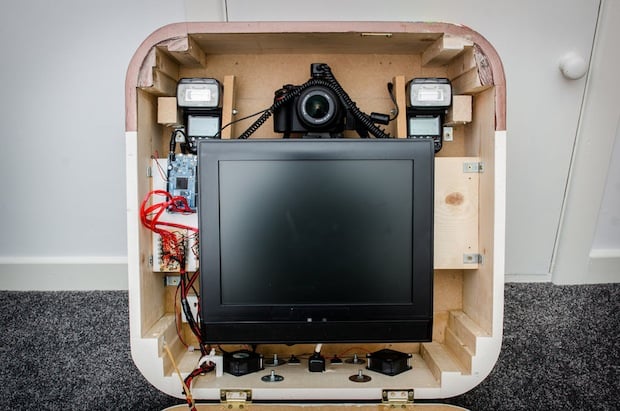
Within the box, he mounted a Nikon D3200 with two SB-900 flashes set to 1/viii power, with one of them continued to the camera using a TTL cable and both connected via PC sync cables. He then mounted a small TV inside, used a standard power cable threaded through the speaker stand to ability it all, and mounted two 60mm 12v fans into the bottom to continue everything cool.
And that'southward it, i appropriate paint chore later on and nosotros have an Instagram photo booth. Apparently it'due south not the simplest DIY projection ever, only the results speak for themselves. Since we don't have the fourth dimension to go into any more detail than we already did, exist certain to head over to Instructables for more build photos, sample pics and an in depth stride-past-step.
Instagram Inspired DIY Photo-Booth [Instructables]
Image credits: Photographs past Alexander Morris

How To Get Photobooth On Instagram,
Source: https://petapixel.com/2013/04/13/how-to-create-an-instagram-inspired-diy-photo-booth/
Posted by: hoffmannhitche.blogspot.com
0 Response to "How To Get Photobooth On Instagram"
Post a Comment